Running rabbitmq in docker on windows

For those what it means to install RabbitMQ for local development, it typically means that you have to go through the pain of installing erlang and RabbitMQ , only to discover that something is wrong with your setup. (To given an example: the RabbitMQ management plugin is not installed by default, requiring you to do additional steps to get started. If it are your first steps in the world of RabbitMQ (and even messaging), then you probably do not want to go through the hassle of setting up the product and figuring out all the "ins" and "outs"...
This setup requires you to have docker installed and running. If you are on windows, you should have your docker installation in the "linux container" mode and then you are good to go.
All you have to do is run the following commands and your RabbitMQ environment will be up and running:
First, will set up a volume where your RabbitMQ data will be stored. This will ensure that your data (queues, messages,users,...) are still present when you restart your computer.
docker volume create rabbitmq_data
Then, we will set run the command to start op RabbitMQ. There are quite some parameters that need to be taken into account, but they all are needed. These are the most important ones:
- -p: opens up the 5672 and 15672 ports so that it is possible to interact with the RabbitMQ msmq and management services.
- -v: mapping the correct folder (where the data is stored) to the earlier created volume. This is needed so that the data is persisted when you restart your computer
- -e: mostly needed in the context of clustering and for cross/remote container administration (e.g.: with
rabbitmqctl) - Finally the container that needs to be pulled: here, the tag
3-managementis important. It will ensure that the management plugin is available when your container is pulled from the registry and that it is stared with the 'service' - The other parameters are docker specific an can be found in the docker docs
docker run -d --restart always --hostname rabbitmq -e "RABBITMQ_ERLANG_COOKIE=uniqueerlangcookie" -p 15672:15672 -p 5672:5672 -v rabbitmq_data:/var/lib/rabbitmq/mnesia --name rabbitmq rabbitmq:3-management
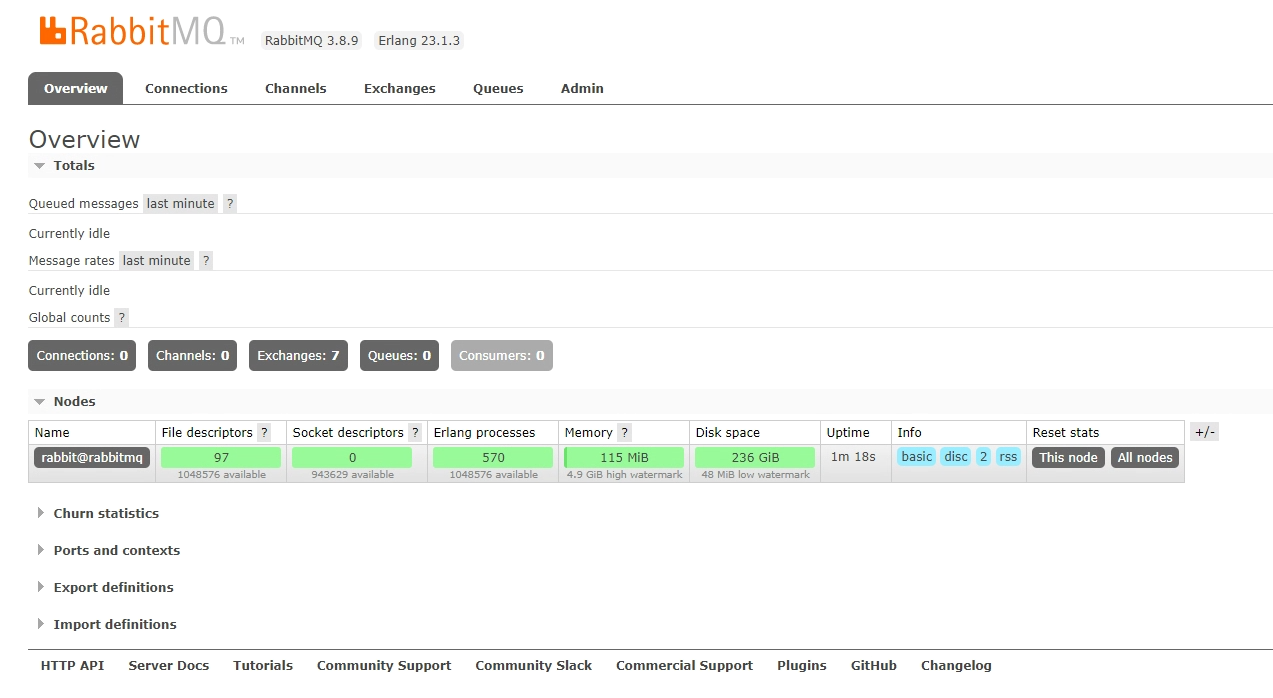
When the RabbitMQ container is started, you will be able to access it on url: http://localhost:15672:
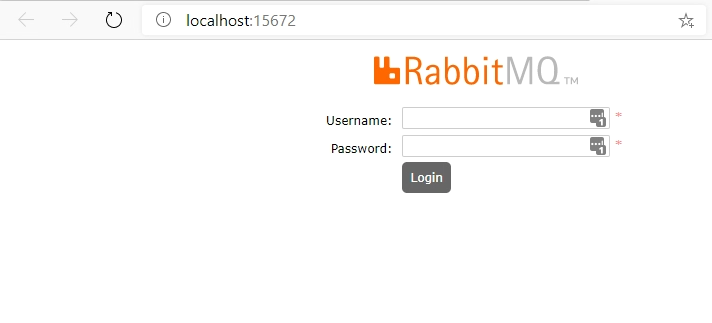
The default username and password are guest and guest, in a local dev env this should be enough. You can change it if you want though :)
Enjoy!