Adding security to an Azure Static Web App
A few weeks ago, I wrote about Azure Static Web Apps and what you can do with them . Since I started using the service, I have been very happy with what it has to offer and in that is why I have decided to also start using it for other things than my personal blog. One thing that you can use it for is an easy to use, developer friendly and secured (company) knowledge base where you can manage knowledge (almost) free of charge without having to set up an entire infrastructure! On this topic, I'll write another post soon! But first we need to put in place the authorization part.
In azure static web apps, this is something that you can achieve with a feature called "Role Management". It allows you to invite users from different IDP's, assign them one or more roles and then you can work with the defined roles to determine on "static web app level" how access can be given and how the login/logout should be supported.
To give you an idea of which Identity providers (IDP's) are supported, I took a screenshot of the wizard in the portal and added it below.
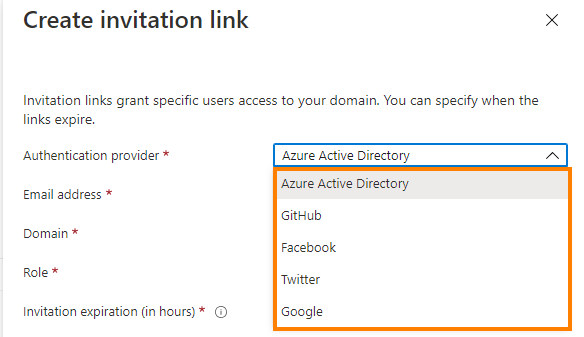
At the time of writing, Azure Static web app supports integration with the following IDP's; Azure Active Directory, GitHub, Facebook, Twitter and Google
The procedure of adding people is really easy, but it doesn't change how the public perceives the app until you determine how the app should behave. That is why you can deploy a file called routes.json into the root folder of your static app (in the case of a Hugo site, you need to place the file in the static folder and during generation it will be placed in the root of the site!) In this file, you can determine pretty much what needs to be done when someone tries to access your site. You have to take into account login/logout procedures for the different IDP's and you have to determine on a "per role basis" what a user should be able to access.
To give an example: If you have a folder with "super secret info" that only "PowerUsers" should be able to see, then you can define a route for this folder in the routes.json and specify the "PowerUsers" role in the allowdeRoles property.
More info on the creation of this routes.json file can be found on the Azure docs website
and an example route file can be found here
.
What the examples doesn't show very clearly is what you need to do in the case where you completely want to close it down for people that have not been invited or don't have the correct role. In this case, I had to figure out that there needed to be a login route, that is allowed for anonymous users, then a logout route (for authenticated users), then one to close everything down with a wildcard route (/*) (except for the routes that have been opened in the previous steps) and finally one that is needed as a redirect action for unauthenticated users (302 to /login). It is important to understand that the order of the routes shown below is important. They are evaluated one by one and evaluation stops when there is a match. In case of a situation where a role is mapped to a specific subdirectory, things most likely won't go wrong, but since the root of the site is mapped to a role with a wildcard route, you have to be extra cautious as to not lock out everyone...
To better understand my point, I suggest that you take a look at the example that I have pasted below:
 1{
 2    "routes": [
 3
 4      {
 5        "route": "/login",
 6        "serve": "/.auth/login/aad",
 7        "allowedRoles": ["anonymous"]
 8      },
 9      {
10        "route": "/.auth/login/aad",
11        "allowedRoles": ["anonymous"]
12      },
13      {
14        "route": "/logout",
15        "serve": "/.auth/logout"
16      },
17      {
18        "route": "/*",
19        "allowedRoles": ["authenticated"]
20      }
21    ],
22    "platformErrorOverrides": [
23        {
24          "errorType": "NotFound",
25          "serve": "/404.html"
26        },
27        {
28          "errorType": "Unauthenticated",
29          "statusCode": "302",
30          "serve": "/login"
31        }
32      ]
33  }
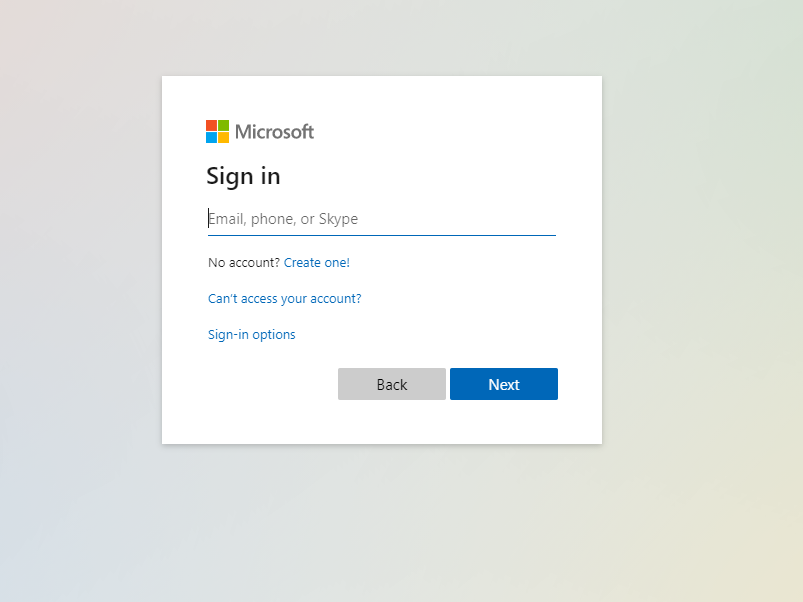
When an unauthenticated user tries to open the page, I deliberately redirect to the /login page that in turn points to the Azure Active Directory (AAD) login page. This ensures that unauthenticated users know where to login. As I only added users with AAD, this makes it easier for them. This can be seen below:
There are plenty of other things that you can achieve with the routes.json file, but I only wanted to highlight this specific feature since it helped me and I had to look a bit to get it working. If you want to find out more, I encourage you to look on the Azure docs page mentioned above (link
)
Have fun!
T